Exploration of Unity’s ML-Agents
In this lab I will learn how to use Unity’s ML-Agents package and touch some concepts of Reinforcement Learning by following tutorial of training an AI in Unity.
Table of contents
Tranditional way vs Machine Learning
Traditional AI is implemented by programmers by setting specific rules and states. For example, for navigation of AI, there are different pathfinding algorithms. Different to traditional way, in machine-learning way we do not provide specific implementation for the AI, also called agents. We make them intelligent by training them. One way of training is to setup a system of rewards. Like the learning process of children or pets, we make agents learn by giving them rewards or punishment. The agents will try interacting with their environment and they will get different rewards according to their behaviours. The agents will update their way to get the maximum reward. This way is a subset of machine learning and is also call Reinforcement Learning.
ML-Agents
The Unity Machine Learning Agents Toolkit ML-Agents is an open-source project that enables games and simulations to serve as environments for training intelligent agents. Agents can be trained using reinforcement learning, imitation learning, neuroevolution, or other machine learning methods through a simple-to-use Python API.
Hummingbirds
In this lab we will follow a tutorial on Unity Learn platform called HummingBirds. The instuctor is Adam Kelly. According to him:
We will learn how to create intelligent flying hummingbirds that can navigate to flowers, dip their beaks in, and drink nectar. These hummingbirds have six degrees of freedom, meaning they can fly and turn in any direction to find targets. They have more complicated controls and their flight paths cannot be solved with traditional navigation systems. We will learn how to craft a training environment and train neural networks to perform this challenging task.
In this lab, I will also provide the solutions for potential issues, since the tools like numpy and ML-Agents have upgraded and there will be a little bit of change to make onto the project.
Project Setup
Initial Setup
Before doing machine-learning stuff, we will firstly setup a unity scene.
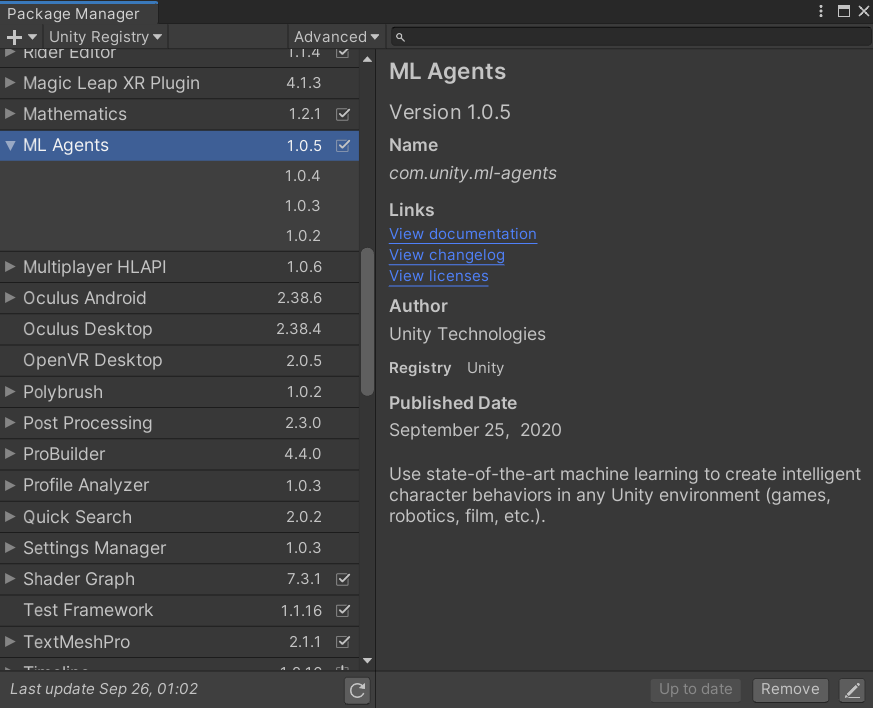
Step 1: Choose Universal Render Pipeline template and create a new project. Step 2: Install the lastest version of ML Agents in Package Manager panel.
Step 3: Import the assets provided by instructor with simple drag & drop into project panel, in Assets directory.
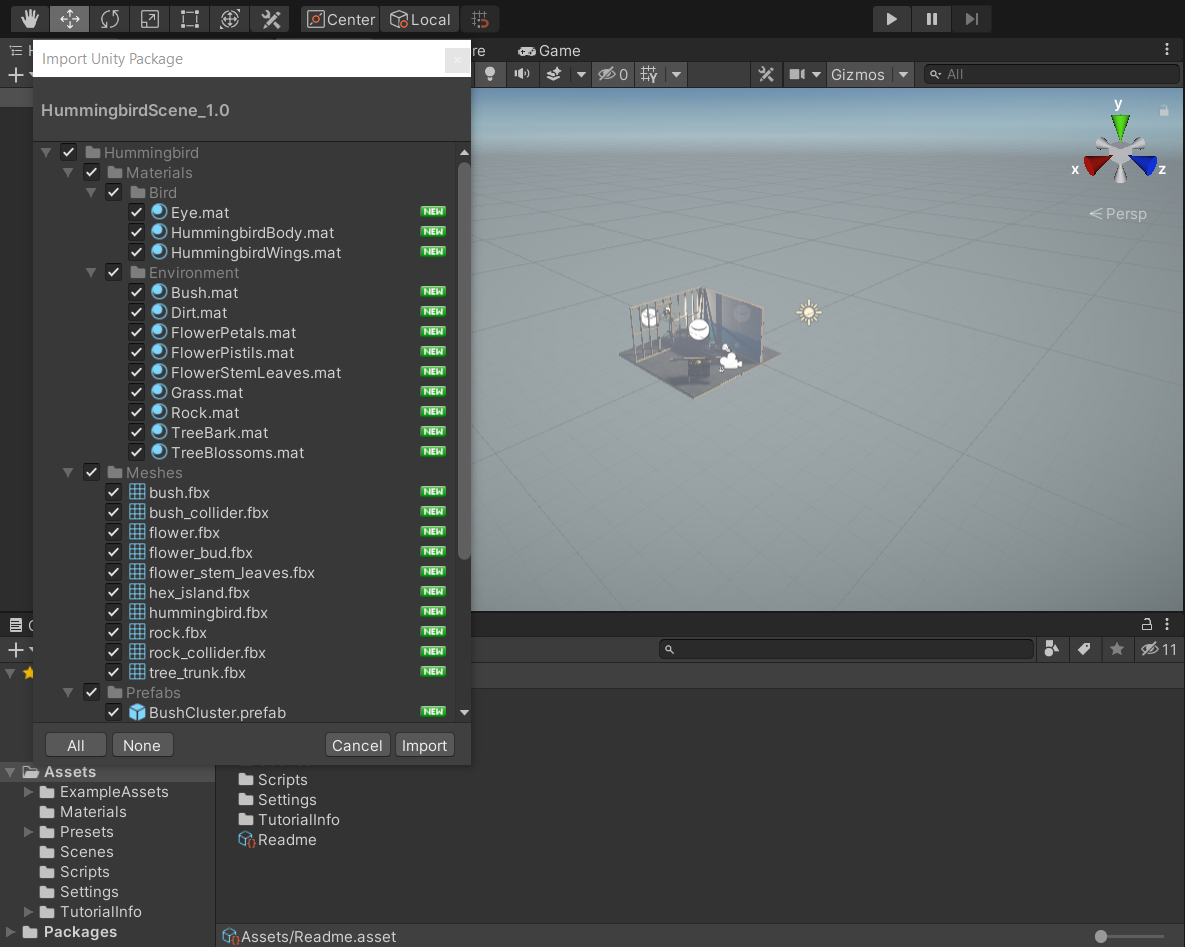
Step 4: In the imported directory called Hummingbirds, we can find a Training scene in Scenes sub-directory, double click to open it. Step 5: Open Project Settings panel and enter Physics option, and set the Default Contact Offset to 0.001. That’s because the hummingbird’s beck is so small that we have to adjust this variable.

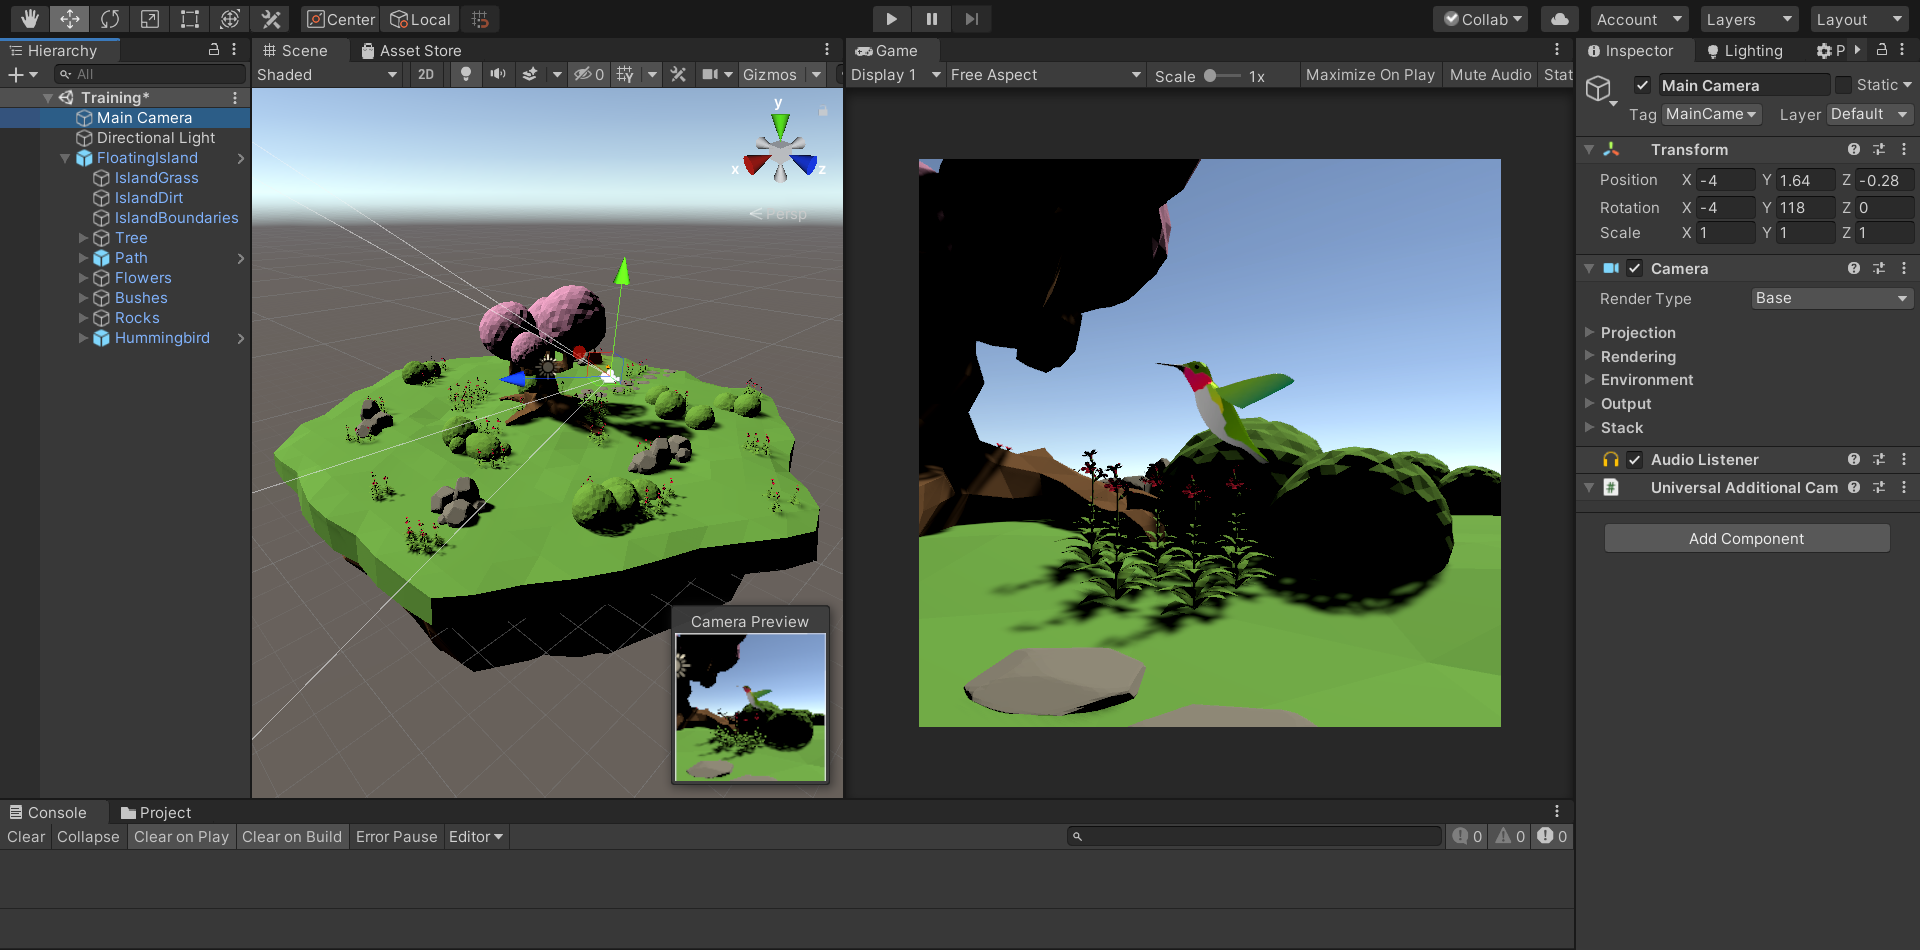
Step 6: Choose the Main Camera and modify its transform’s parameters as follow, in order to see the hummingbird in Game view.
Scripts and Tags
We will create three scripts which will be attached to some gameobjects in Unity. The source code will comments be presented in annex. In this main part, I will explain the main ideas of each script.
Flower Script
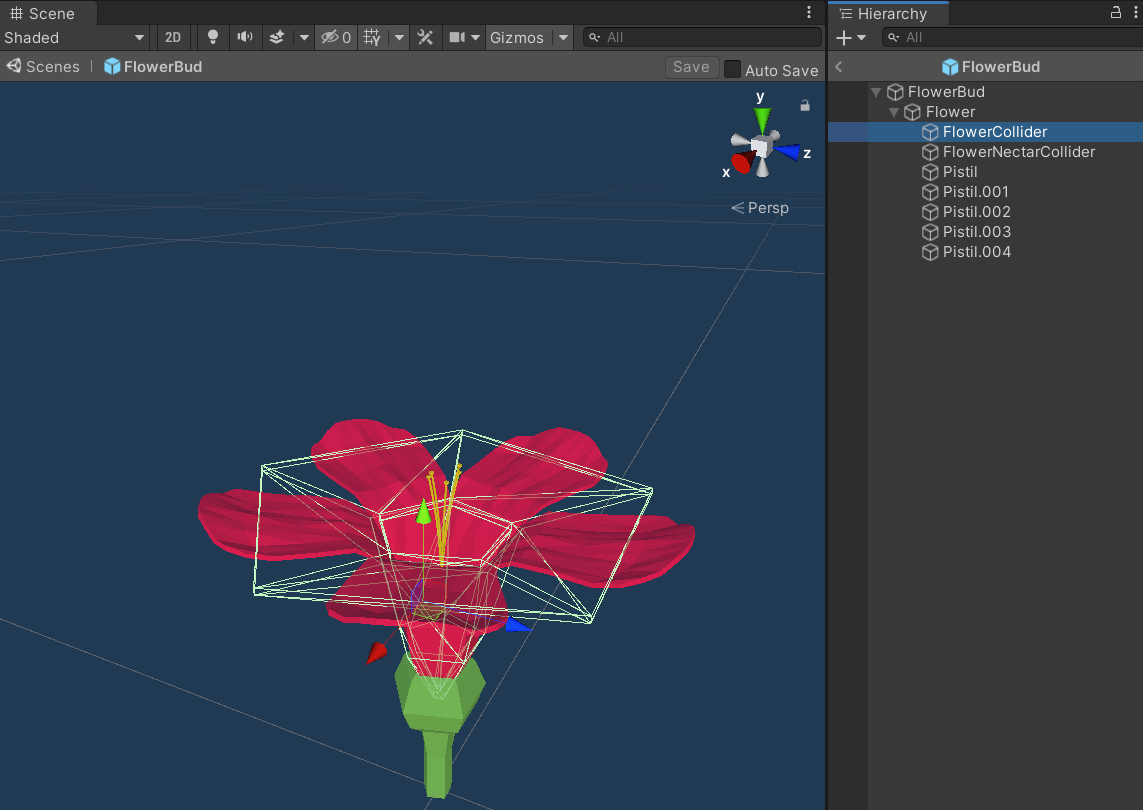
We will implement firstly a Flower script by creating a Scripts folder and create it there. After that, we will open FlowerBud prefab by double clicking on it, and add this script as a component onto the Flower gameobject.
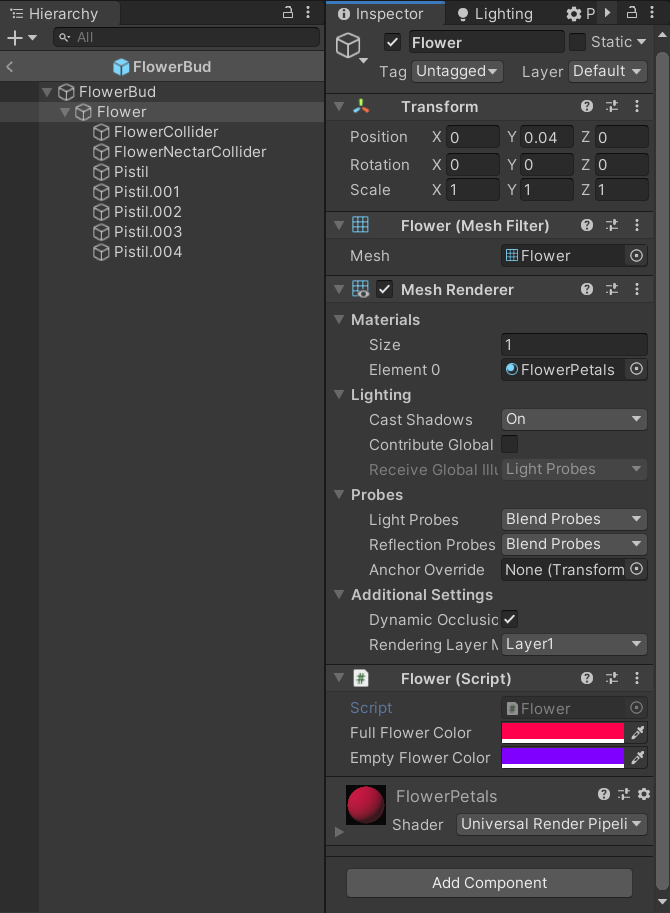
There is already a collider attached to the buds so that the hummingbirds could not put their becks from the sides or from underneath of the buds. We will also find a inner collider which is a trigger inside it which is called FlowerNectarCollider. Whenever a hummingbird’s beck succeeds in touching this collider, the nectar will be consumed in a few seconds and the bud will turn purple.
FlowerArea Script
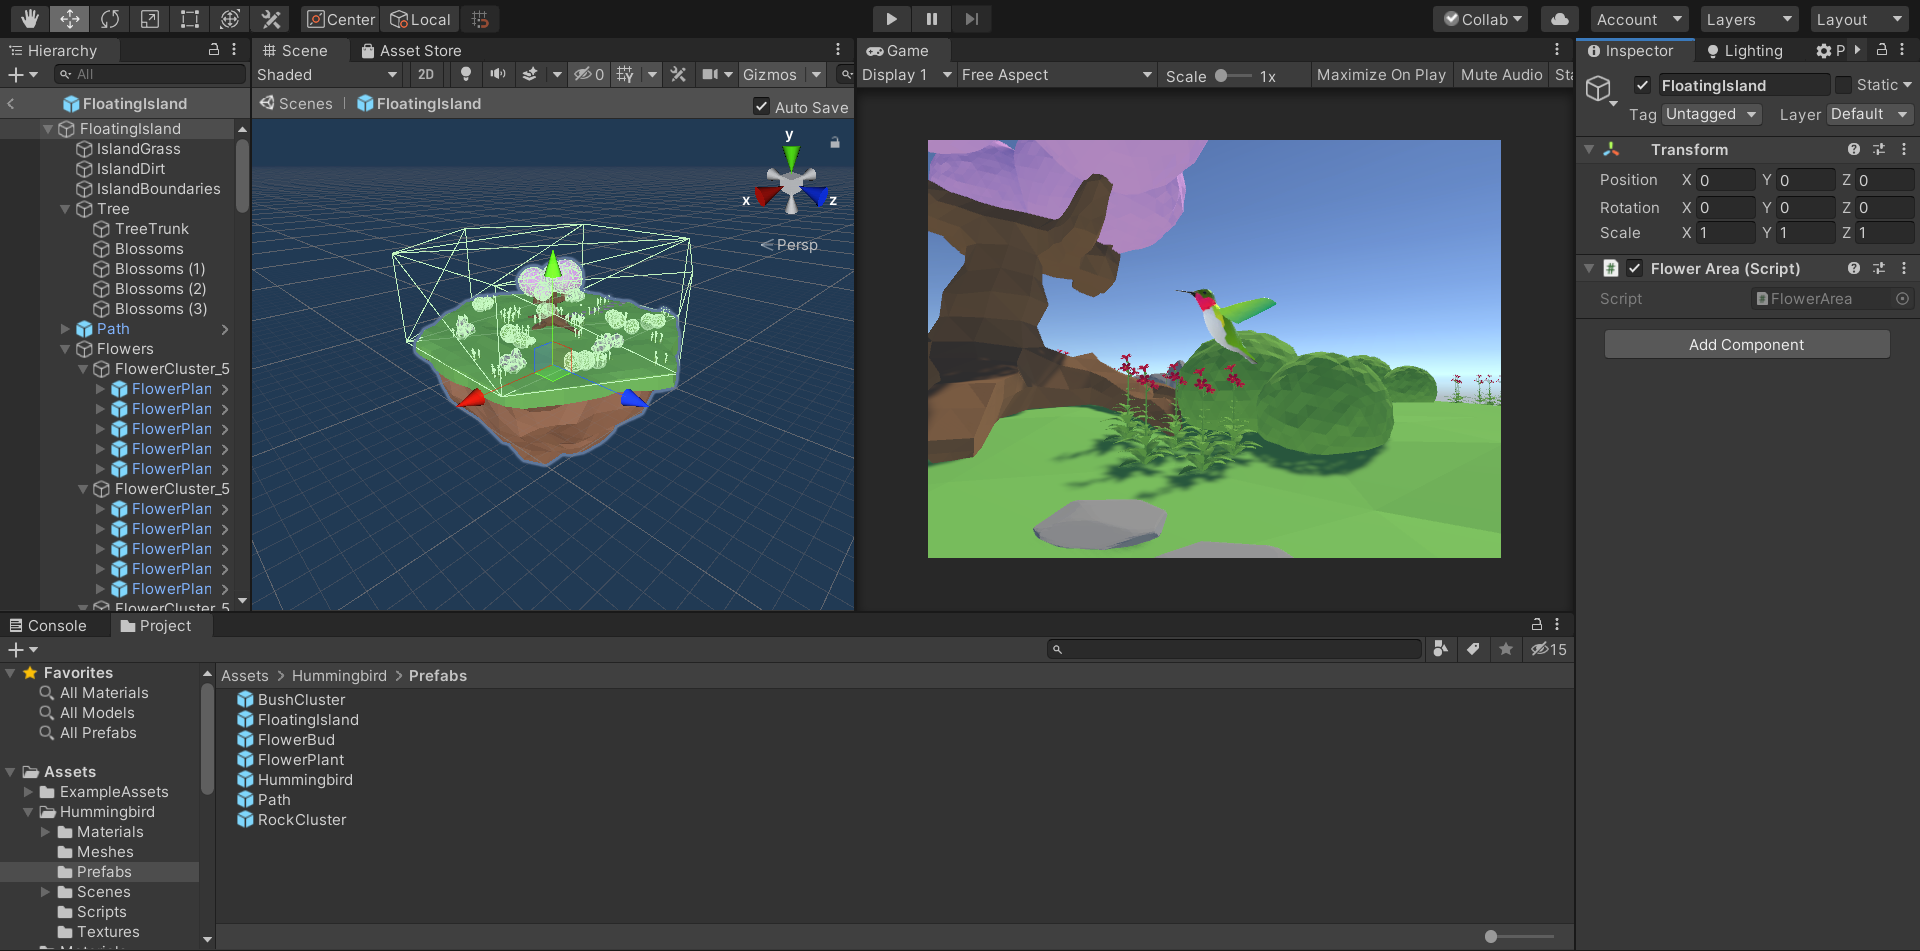
When opening the FloatingIsland prefab, we can find that it group up the environment of our training. We will create a FlowerArea script and attach it to the FloatingIsland gameobject.
We have seen FlowerBud prefab. When discovering FlowerPlant prefab, we will find that three buds are onto it. These plants will be randomly instantiate all around the island, with the orientation of each plant a bit different, and this task is managed by FlowerArea script. It is also reponsible for resetting the flowers when a new training starts.
HummingbirdAgent Script
The last script named HummingbirdAgent will be attached onto the HummingBird gameobject. It contains most of the critical functionality for training our birds and the way of interacting with other objects in scene. It will inherit the Agent class in ML-Agents package in order to use the machine learning framework in it, that’s to say, we will override some functions like OnEpisodeBegin() to add custom logics when activating the trainings.
Before looking into this script, we need to see two specific terms in reinforcement Learning – observation and reward.
Observation
ML-Agents enable us to monitor several properties when training the hummingbirds, like the value of position or rotation. To make it simple, we will make a simplfied model and choose the values to be monitored. These values are also called observations. We will override CollectObservations in ML-Agents to register these chosen values so that the training system will keep observing these values when do training and related them with rewards. In this project, the instructor choose the following observations: bird’s rotation, direction to the nearest’s flower and distance to it.
// observe the agent's local rotation (4 observations)
sensor.AddObservation(transform.localRotation.normalized);

// get a vector from the beak tip to the nearest flower
Vector3 toFlower = nearestFlower.FlowerCenterposition - beakTip.position;

// observe a normalized vector pointing to the nearest flower (3 observations)
sensor.AddObservation(toFlower.normalized);

// observe a dot product that indicates whether the beak tip is in front of the flower
//(+1 means that the beak tip is directly in front of the flower, -1 means directly behind)
sensor.AddObservation(Vector3.Dot(toFlower.normalized, -nearestFlower.FlowerUpVector.normalized));

// observe adot product that indicated whether the beak is pointing toward the flower
//(+1 means that the beak tip is pointing directly at the flower, -1 means directly away
sensor.AddObservation(Vector3.Dot(beakTip.forward.normalized, -nearestFlower.FlowerUpVector.normalized));

// observe the relative distance from the beak tip to the flower (1 observation)
sensor.AddObservation(toFlower.magnitude / FlowerArea.AreaDiameter);
reward
The reward is a curcial part of reinforcement learning, which makes the agent somewhat interlligent. It means that we gives some reward positive if it does something that we want it to do and a negative one if it does something that we would like to happen. We can imagine an agent like a child which can learn something from our response towards his behaviour. Here, the instructor will give the bird a small positive reward if it gets nectar. If the bird touches the boundary, it will receive a great negative reward.
brief
Generally, the HummingbirdAgent script will move the bird to a random place with 50% of chance appearing in front of a flower. When a training session begins, this script will update the coordinate towards the nearest flower. At the beginning, the internal system will generate random value of observations for it. That’s to say, the movement value. If the bird encounters a boundary or get the nectar from flower, it will get a negative or positive reward. The overrided functions will record the observations, calculate the rewards it obtains in one session and analyse their relationship internally. It will adjust the way of interacting the bird in the next session. These values will be passed into OnActionReceived function to update the bird’s movement, in order to gain more and more positive rewards.
other components
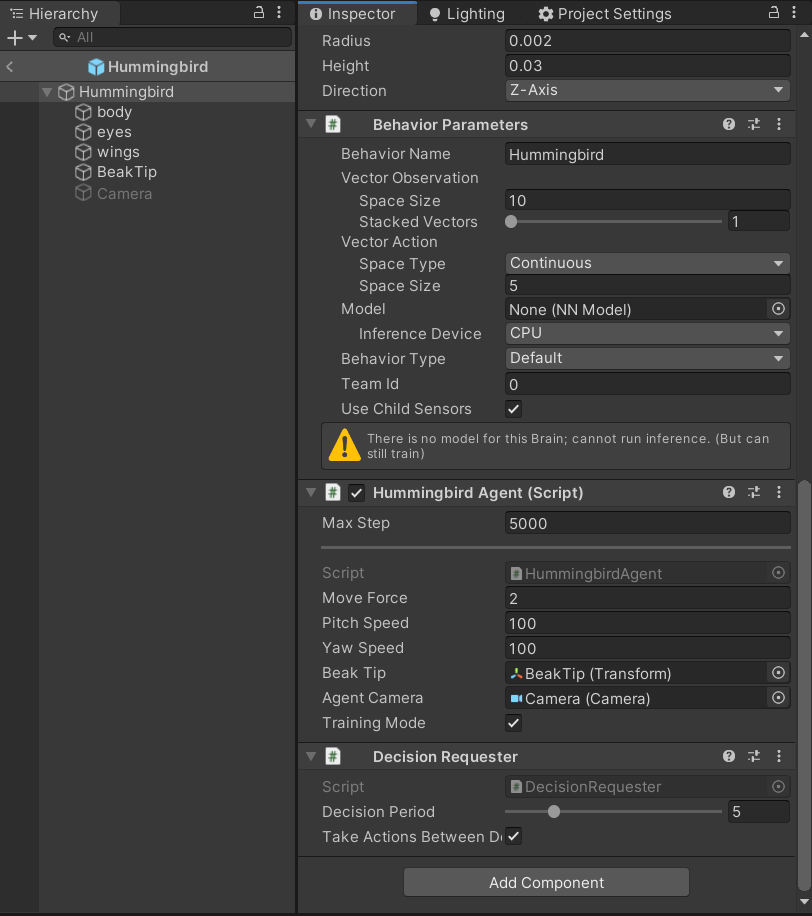
We need to add some other components onto Hummingbird prefab in order to make the training work. We need to add a BehaviorParameters and a DecisionRequester and modify some parameters as image below.
Tags
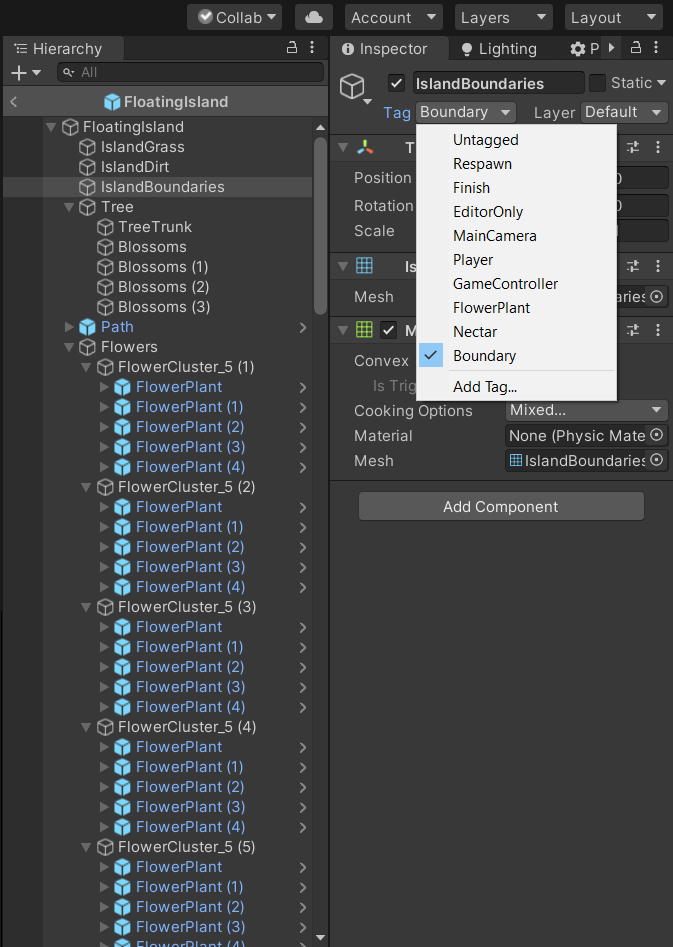
We need to attach three tags, FlowerPlant, Boundary and Nectar in Unity in order that the script finds its targets successfully. First, we attach FlowerPlant to the same named gameobject.
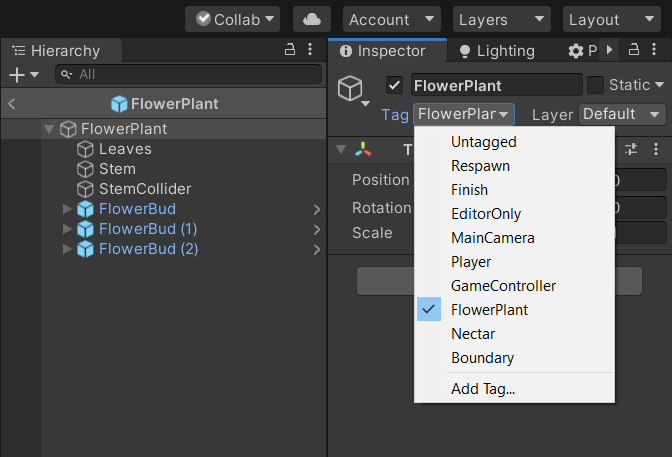
Then, we attach Boundary to IslandBoundaries gameobject in FloatingIsland prefab.
Finally, we attach Nectar to FlowerNectarCollider gameobject in FlowerBud prefab.
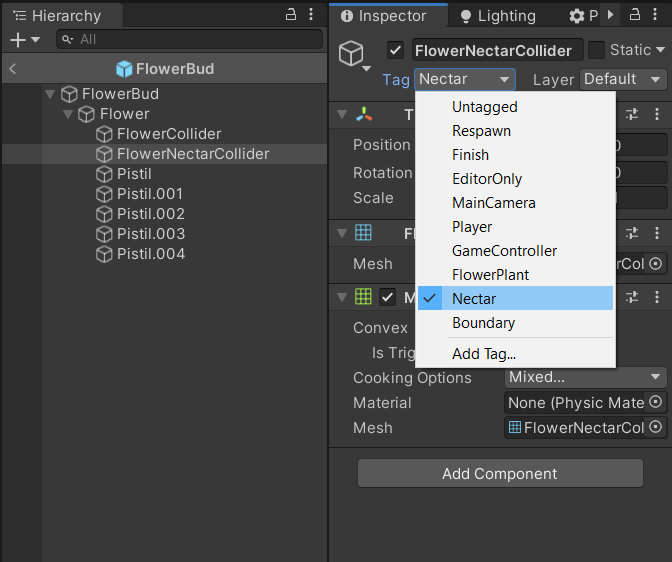
<img src=”https://raw.githubusercontent.com/zemin-xu/zemin-xu.github.io/master/assets/images/hci_lab2/tag_nectar.png “nectar tag”){:width=”100%”}
Ray Perception
We need to add some additional components for Hummingbird prefab. Add a camera firstly and modify the values as follow picture.
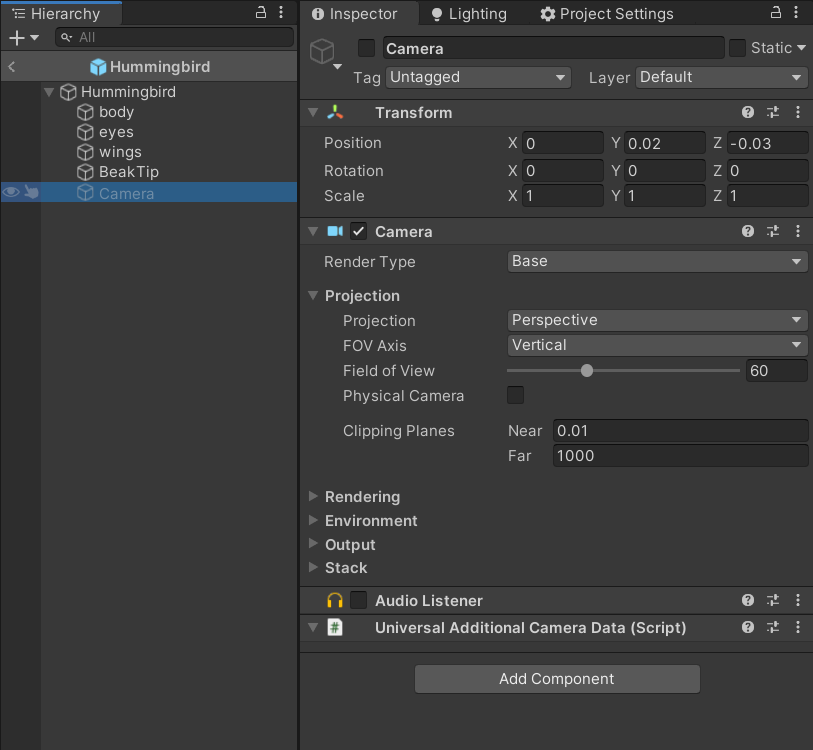
After that, we will create three empty gameobject and name it RaysForward, RaysDown and RaysUp respectively. We will add the same component RayPerceptionSensor3D onto them.
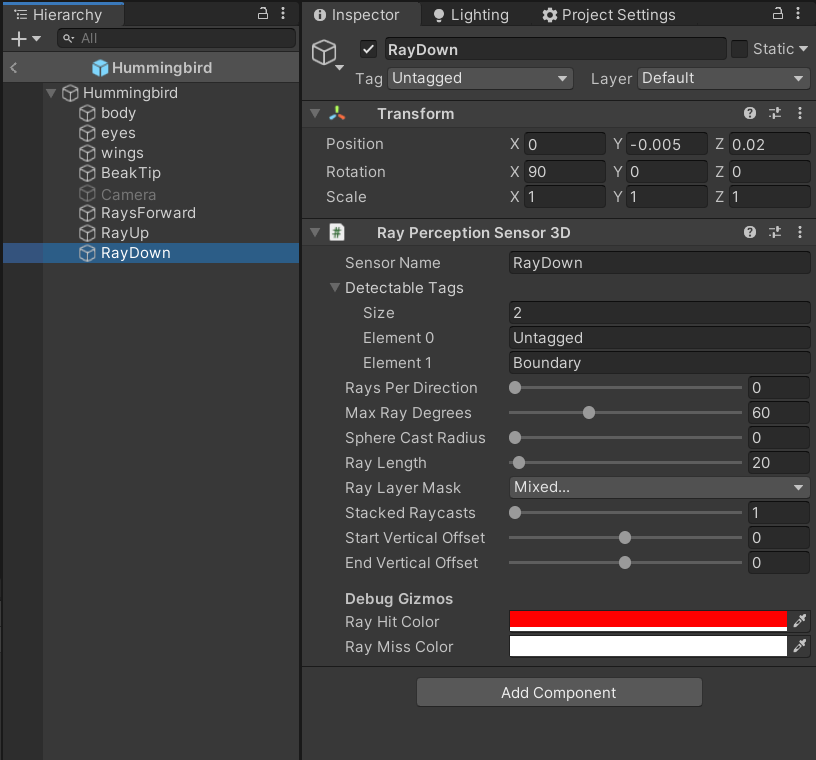
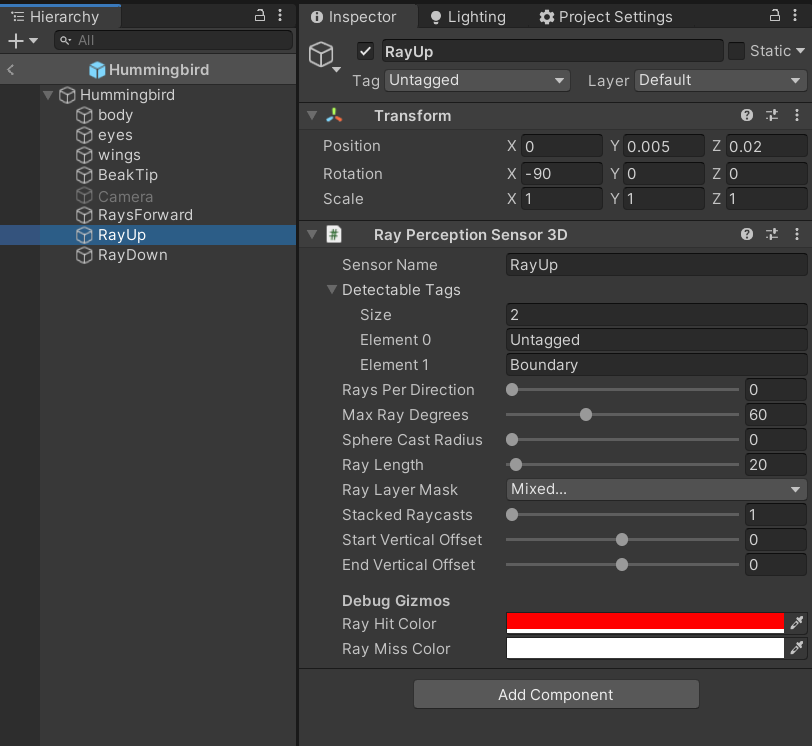
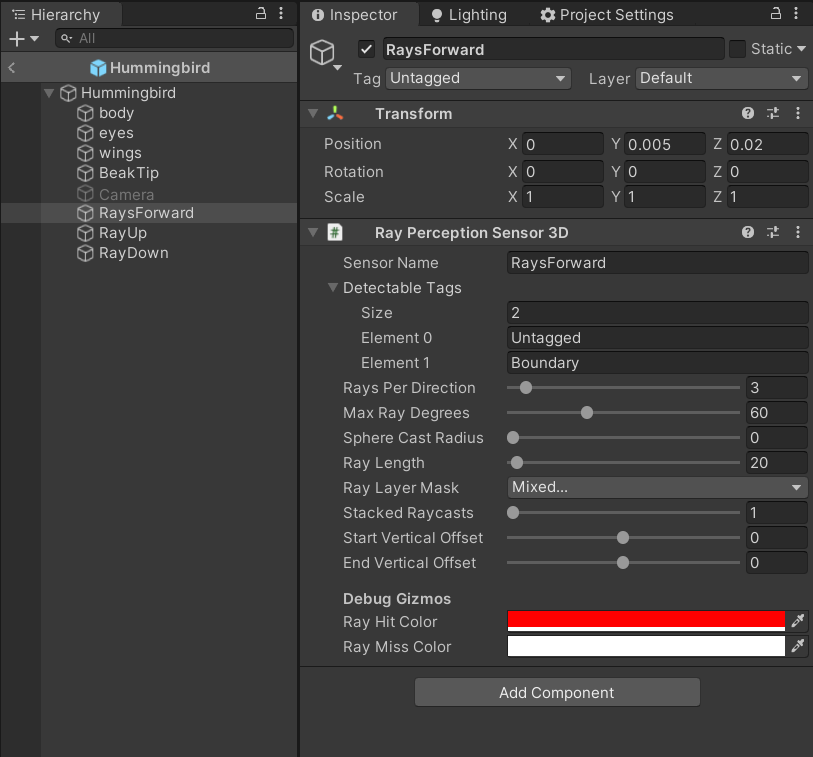
Finally, we duplicate seven times the FloatingIsland gameobject to speed up the training.
Training Setup
In order to use ML-Agents to train our birds, we need to set up the Python environment for it. We will choose Anaconda as the package manager.
Anaconda
We will go here to download the Anaconda and follow the installation to the end.
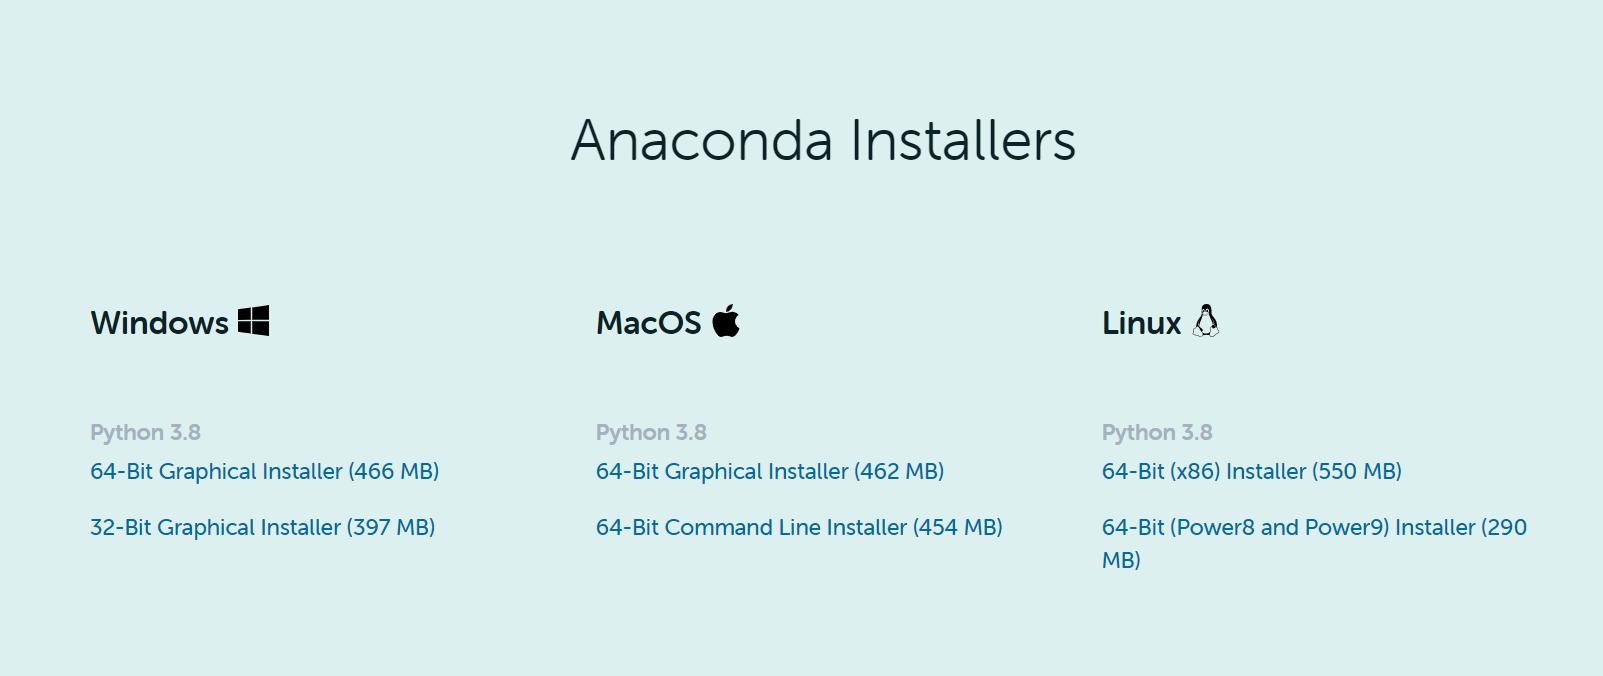
After running this application, we create a environment named ml-agents-1.0 by typing:
create -n ml-agents-1.0 python=3.7
After extracting packages, we activate this environment by running:
conda activate ml-agents-1.0
In it, we run the following command to install ml-agents related package.
pip install mlagents
A potential issue that I encountered when following the tutorial is that the numpy package is beyond the requirements of ml-agents. In this case, we run the following command by replacing the traget version that ML-Agents requires.
conda install -c conda-forge numpy="target version"
Trainer Config YAML
The config file is an essential element for running training with Python for ML-Agents. You can find the code provided by instructor here. It contains a list of parameters defining the details of each training session, such as training duration. To understand what these parameters do, you can find the documentation of Unity here.
The instructor used the first version in which the configuration format has deprecated. In order to migrate it, we will use the following command:
python -m mlagents.trainers.upgrade_config [old file] [new file]
Training
In order to start training, make sure the scene in Unity is ready to play, and the environment setup in python is done. Then type in in anaconda prompt:
mlagents-learn [path of new file] run-id hb-01
The hb-01 here is the id because we may run several trainings. When the command is entered, we hit Play in Unity.
If the training starts successfully, we can see a some output like below. As well, we can see the birds are moving strangely which is normal at the beginning.
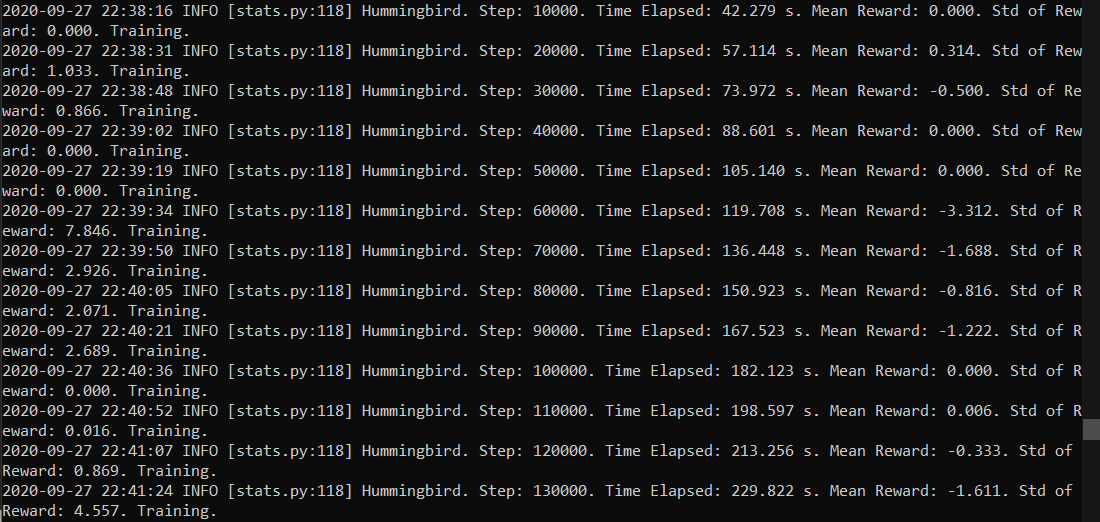
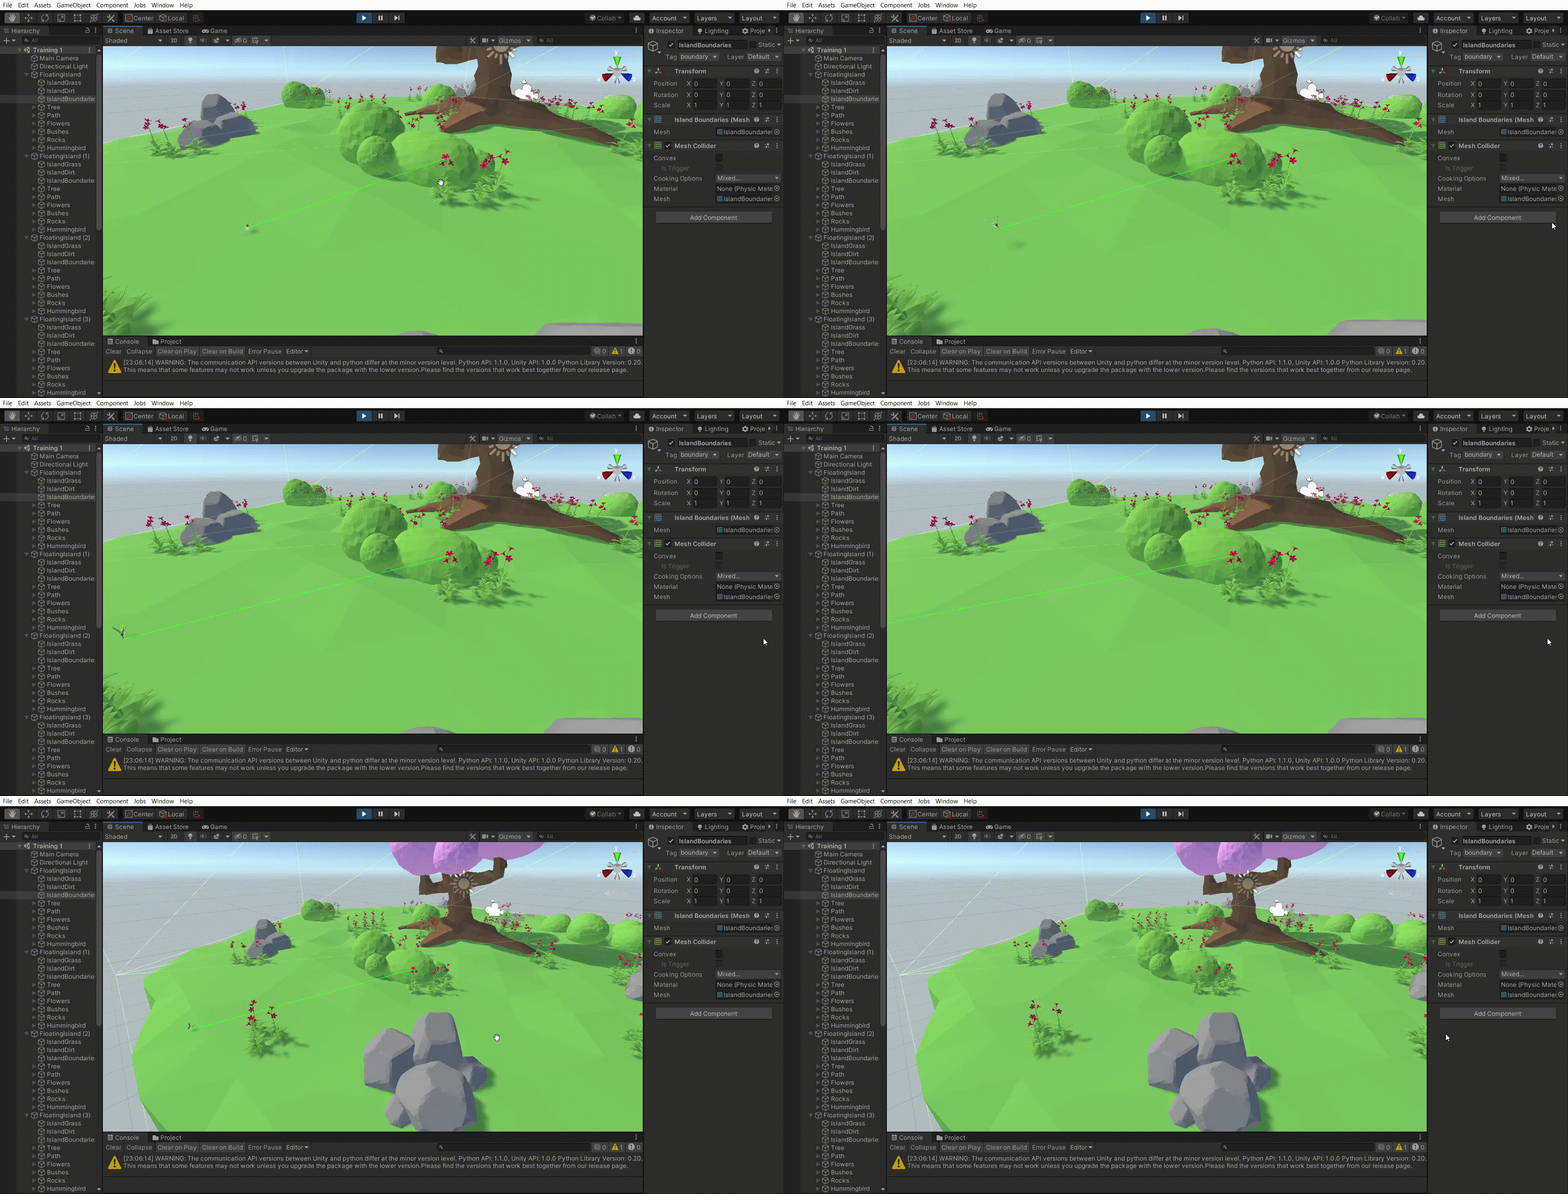
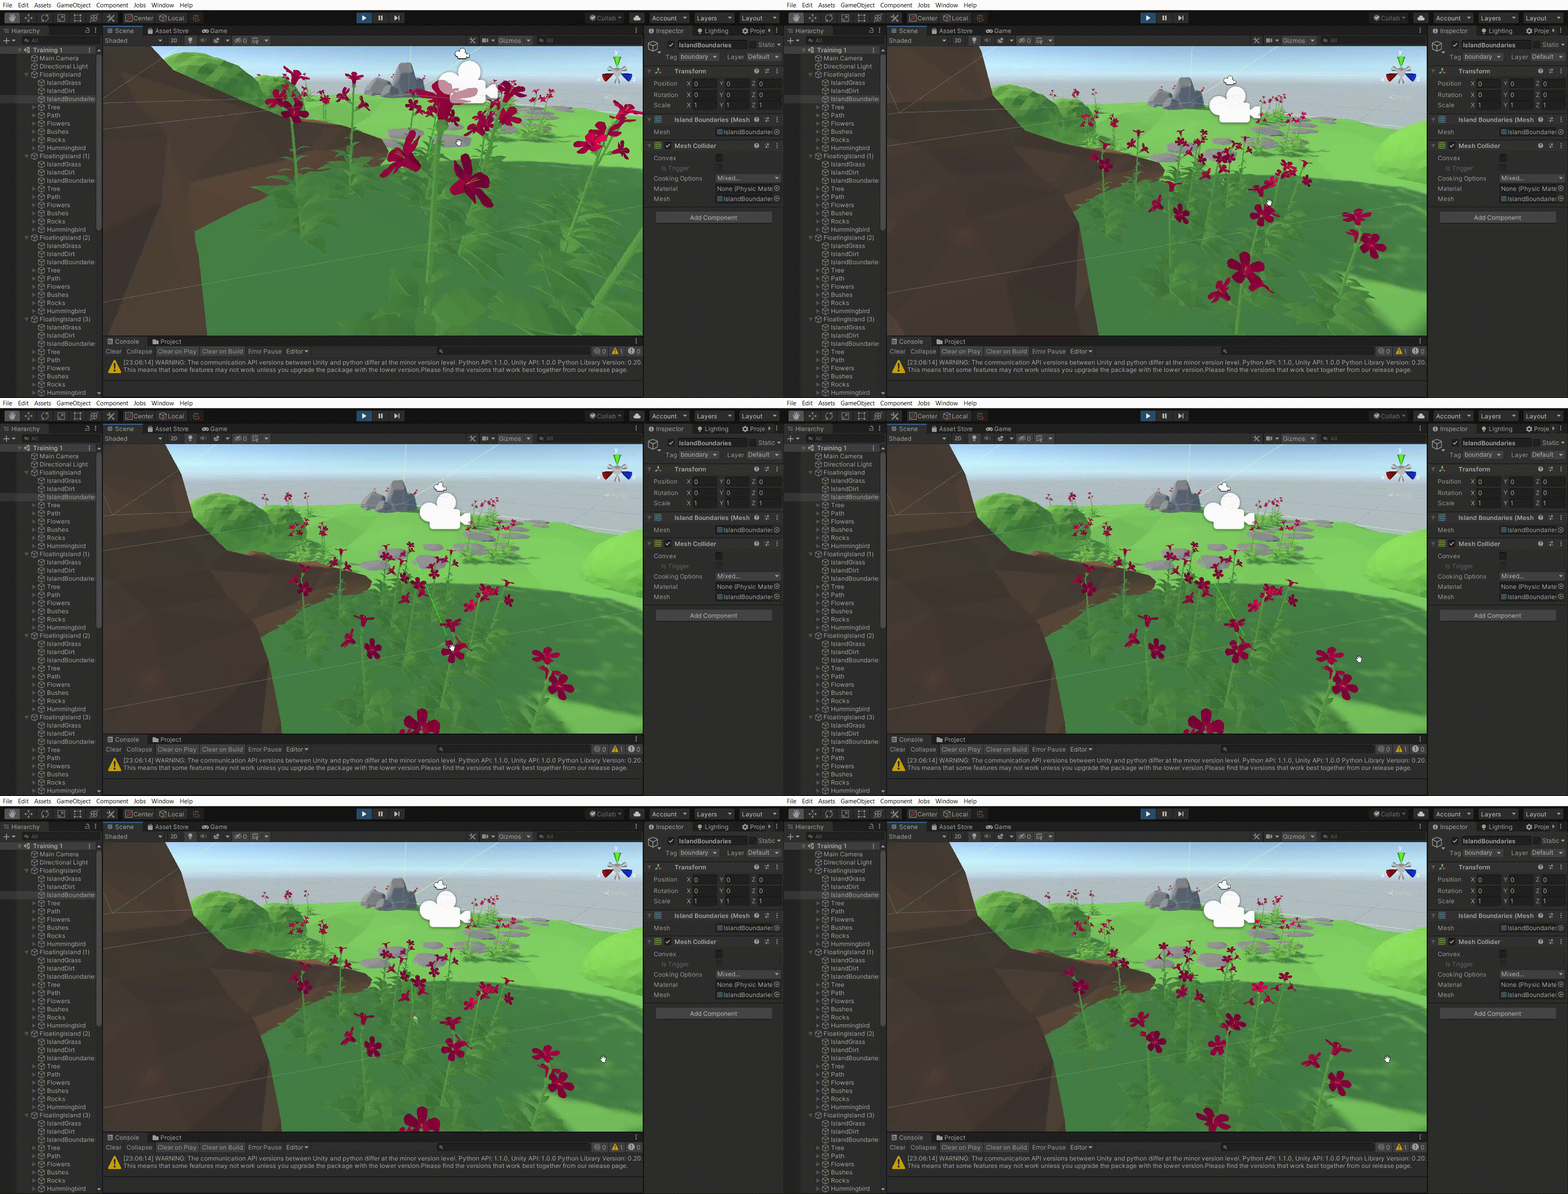
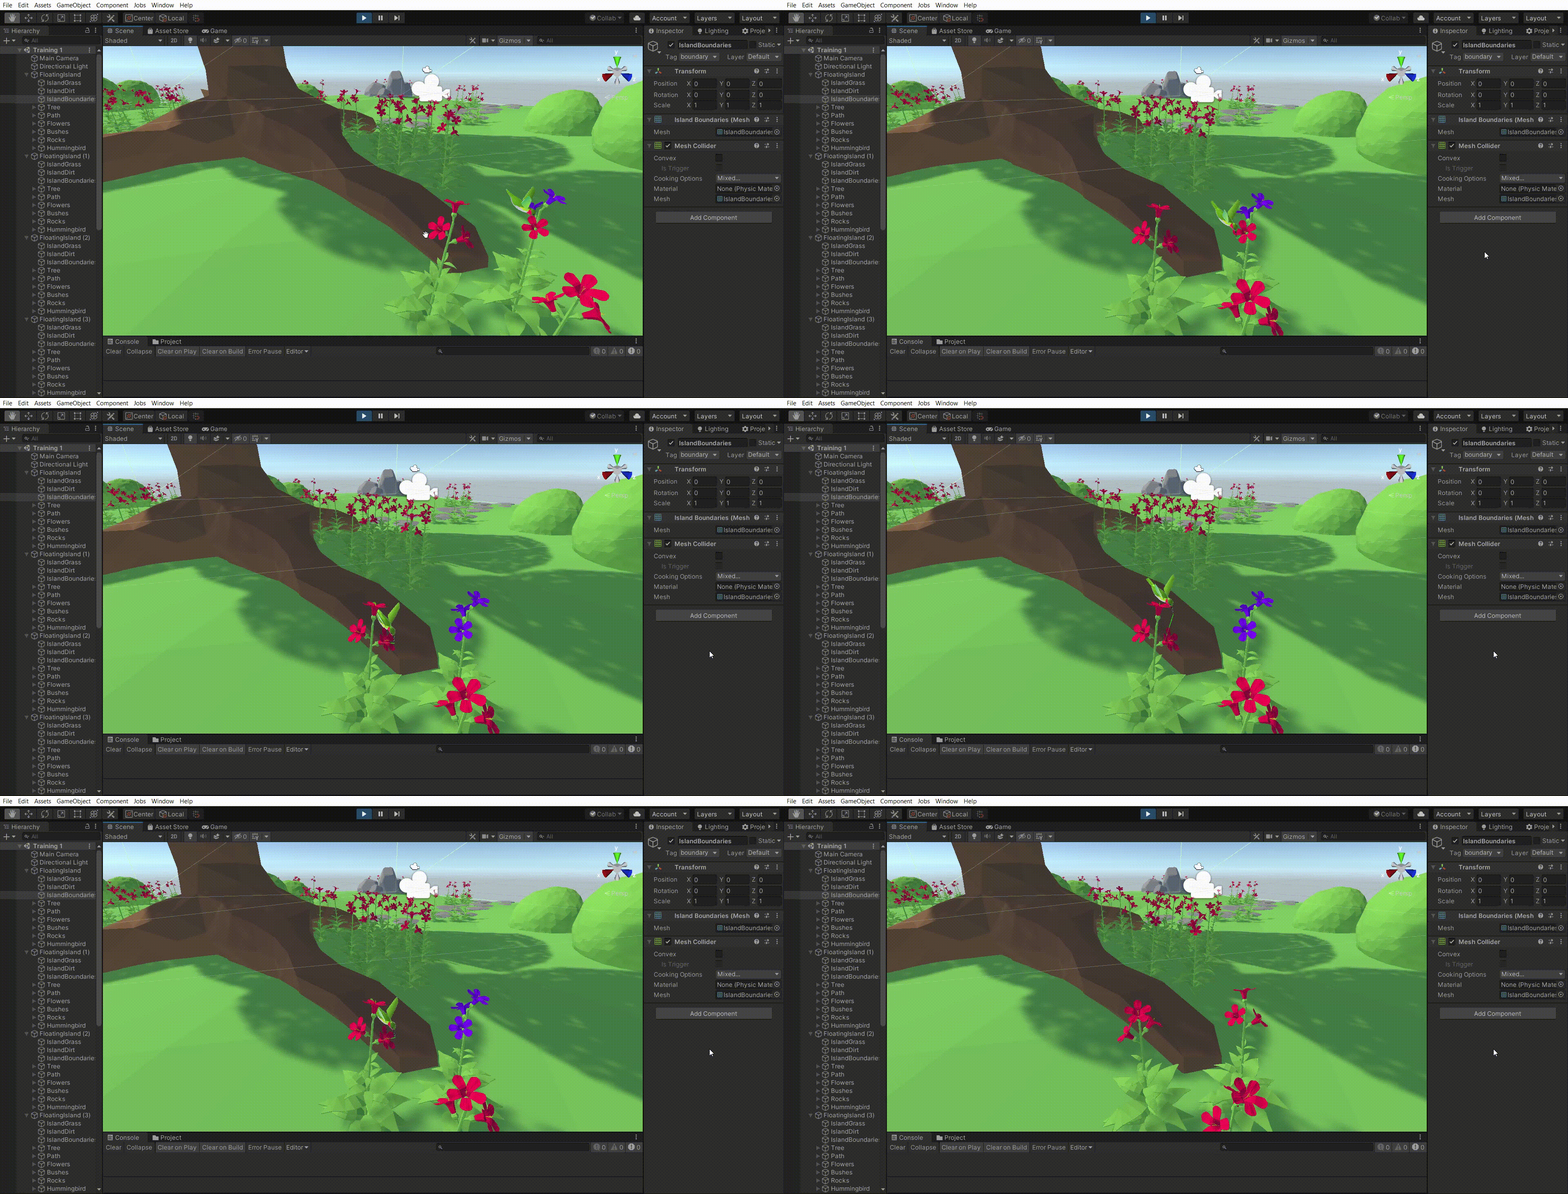
We can find that at the beginning, the mean of reward is either negative or zero. After about one million steps, the training situation is greatly improved. The animation below shows the training result at an intermediare stage. The fully trained version is recorded as video at the end of this post.

Conclusion
This tutorial give me the opportunity of going through the process of training the agents in Unity using ML-Agents. The result turns out to be surprising: with the reasonable parameters and several hours of training, an agent can behave like a real player. There are still some more topics that we can dig into, like the way of setting parameters and observations as well as the analyse of resulting data.
You can find my source code of this project here in which you will know how it is organized. You will also find a fully-trained hummingbird in the video below.
References
Flower script FlowerArea script HummingbirdAgent script Tutorial ML-Agents repository Upgrading config documentation